
How-to Guide
How to Onboard a New Client
The first two weeks decide how the whole project feels. Here is what to send a new client, when to send it, and how to keep onboarding moving.
A client signs, everyone is happy, and then the questions start. Who do we send the logo files to? When is the first draft due? Is the landing page part of this, or extra? Who on our side approves things? Most of these arrive as separate emails in the first week, and each one is a small chance to look disorganised.
Good onboarding answers them before they are asked. You send one page that sets out who is who, what you will deliver and what you will not, the timeline, how you will work together, and what you need from the client to get started. This guide walks through that page, section by section, and shows how to send it so it stays useful after the kickoff call.
When to Onboard: The Window Between Signature and Kickoff
Send your onboarding page right after the contract is signed and a few days before the kickoff call. That timing does three things:
- It keeps momentum. The client has just said yes. A clear next step within a day tells them they chose well.
- It gives them time to gather what you need. Files, access and approvals take days to collect inside most organisations. Asking at the kickoff call loses a week.
- It makes the kickoff call about the work. If logistics are already settled on the page, the call can be spent on goals and questions.
What to Include in a Client Onboarding Document
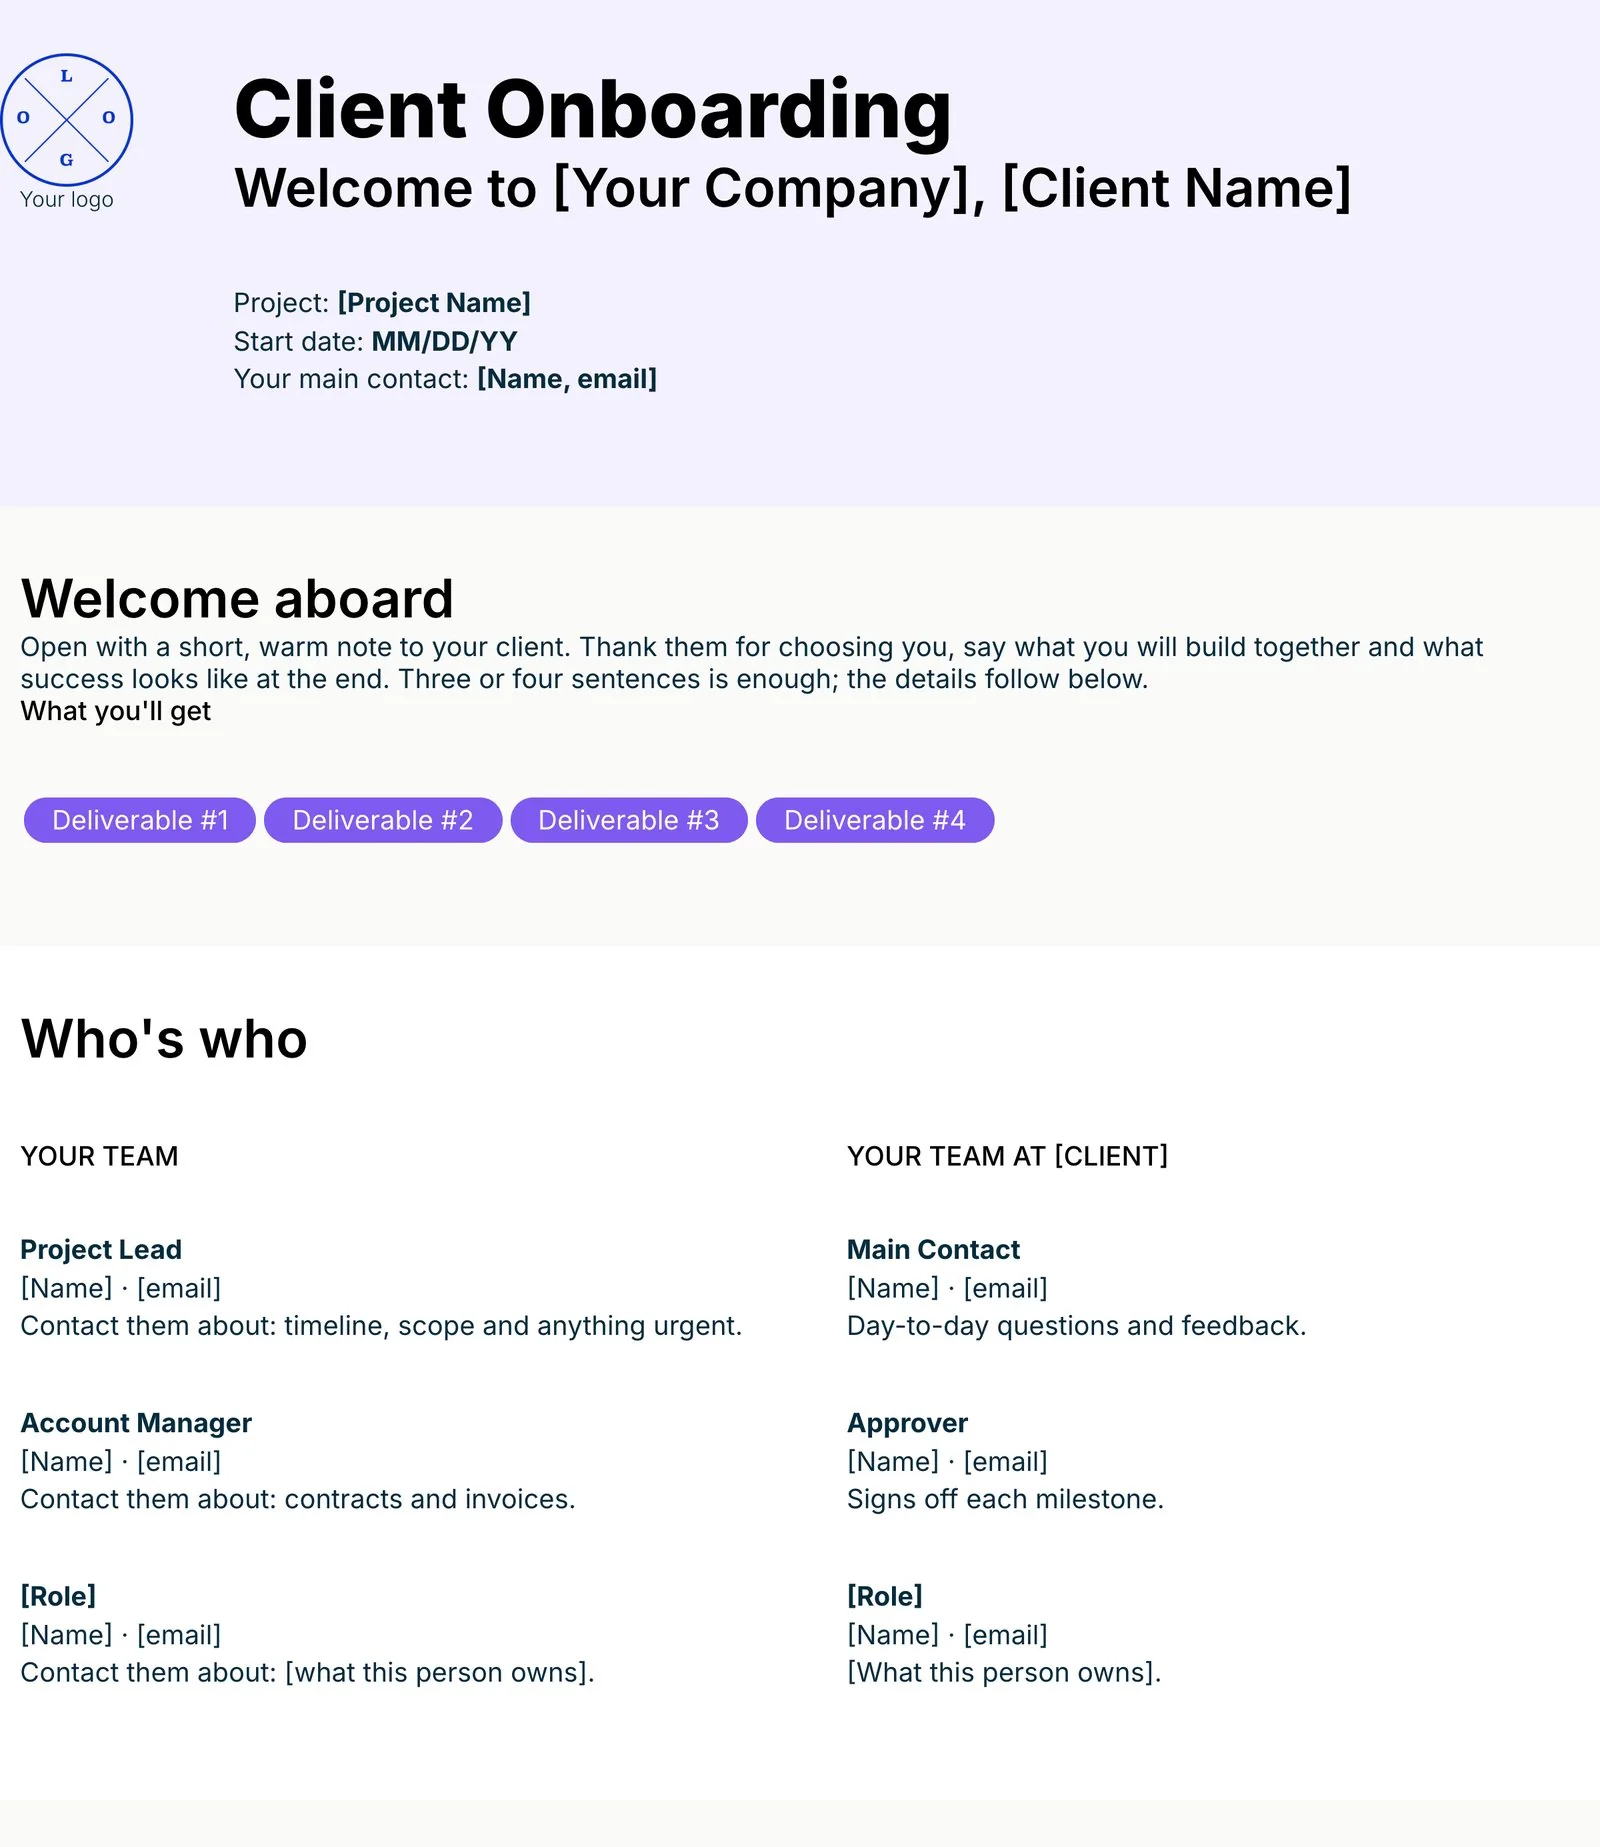
Keep it to one page the client can read in five minutes. These eight parts cover what most service projects need, in the order a new client reads them:
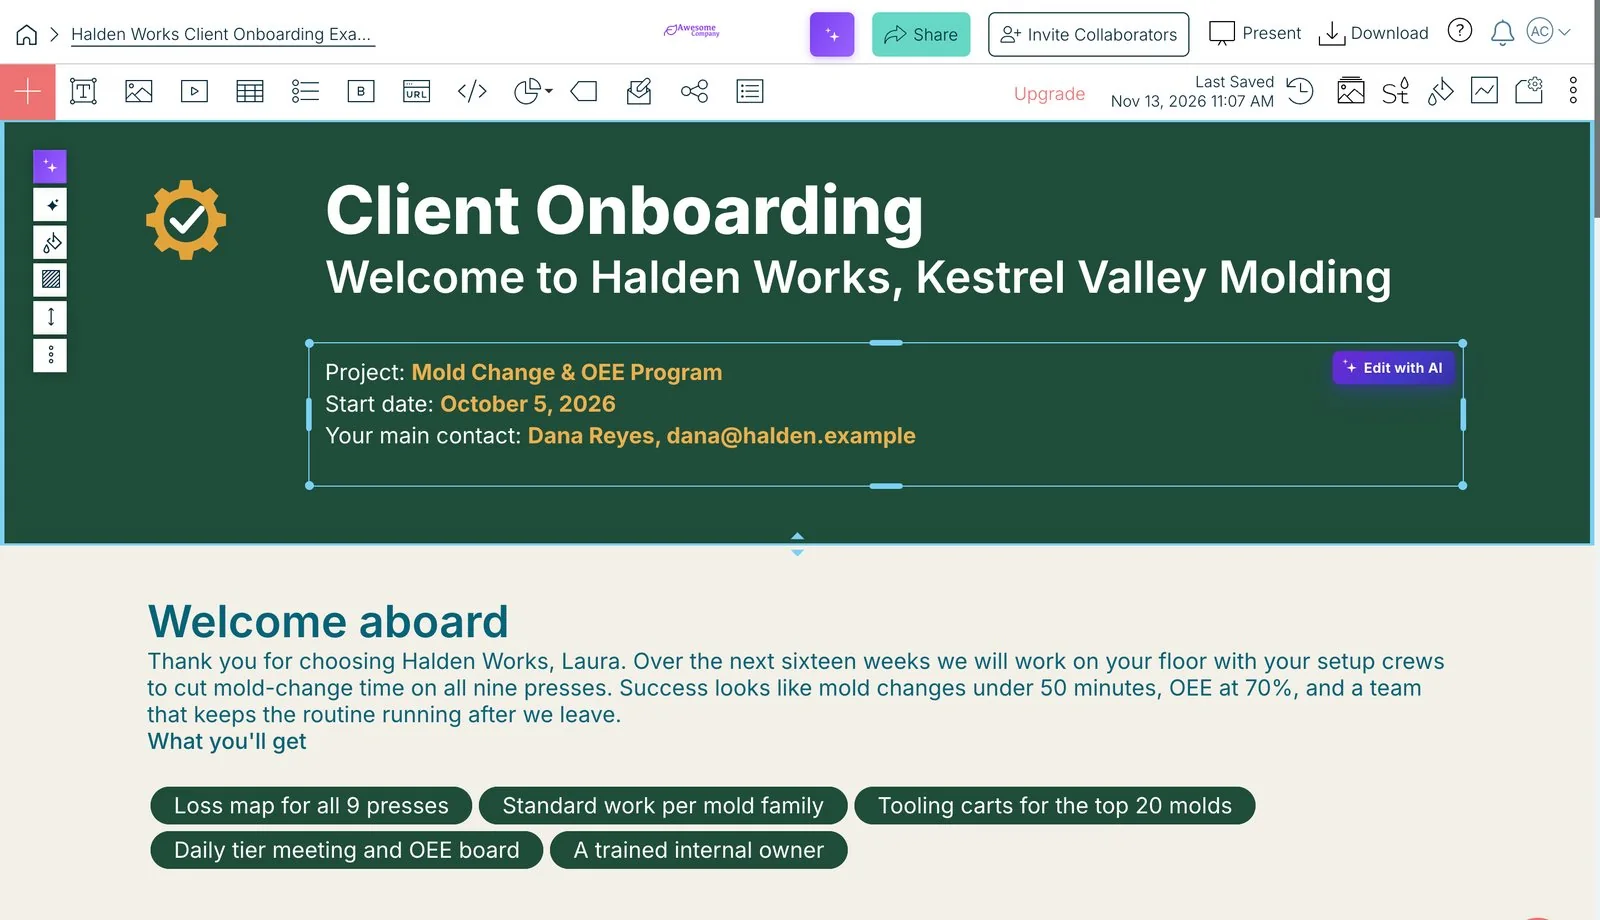
- A short welcome note. Thank them, say what you will build together and what success looks like at the end. Three or four sentences is enough.
- The deliverables. A short list of what they will receive, in plain words. This is the first thing most clients look for.
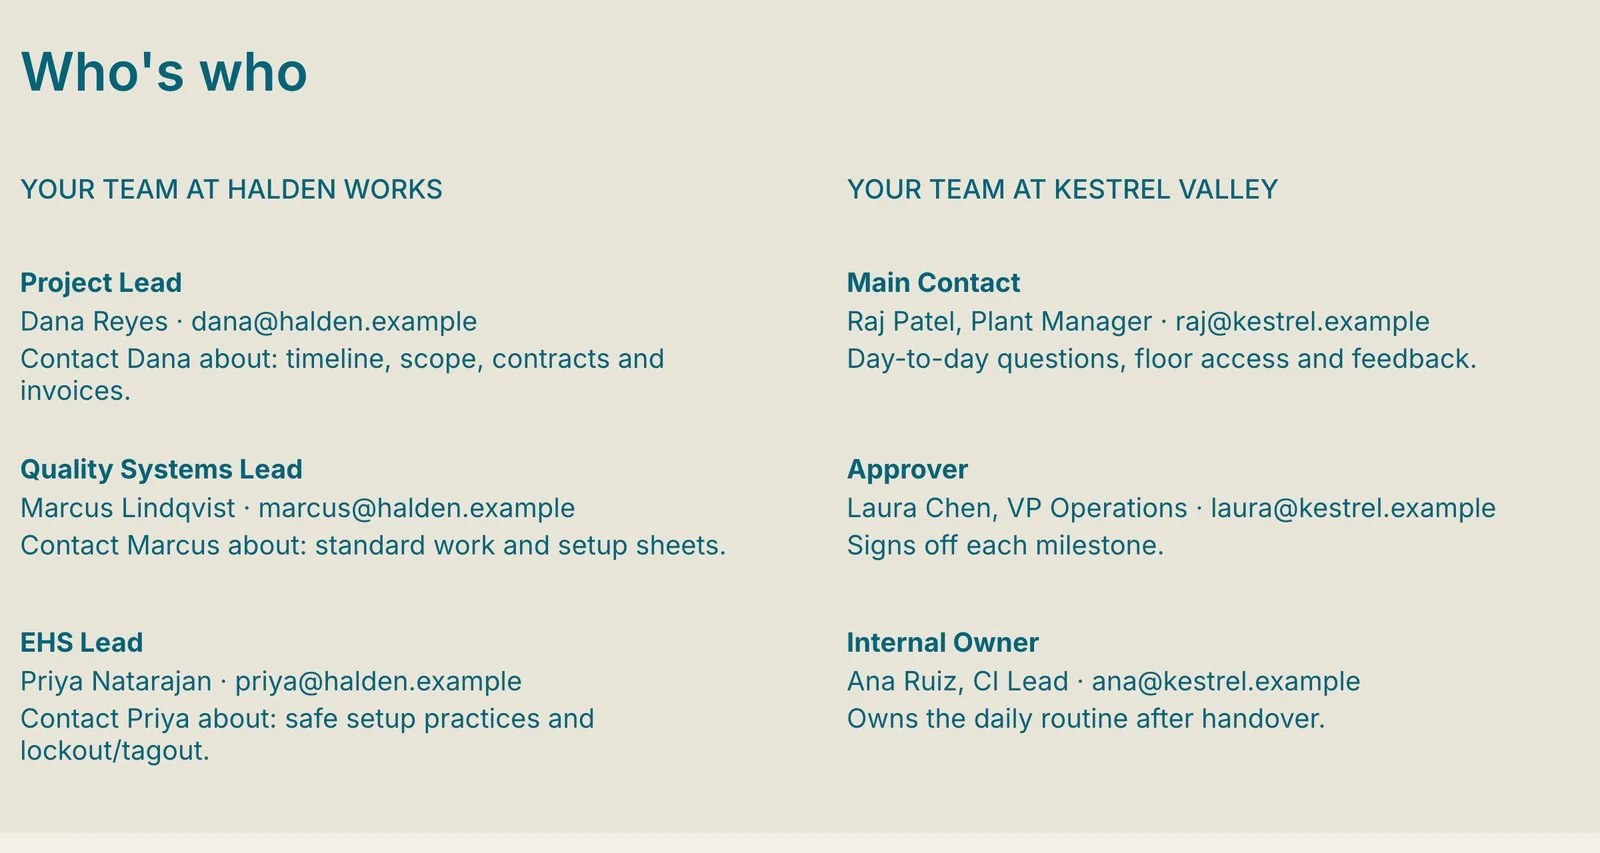
- Who’s who, on both sides. Your project lead and anyone else they will hear from, with what to contact each person about. Then their side: a main contact for day-to-day questions and an approver who signs off milestones.
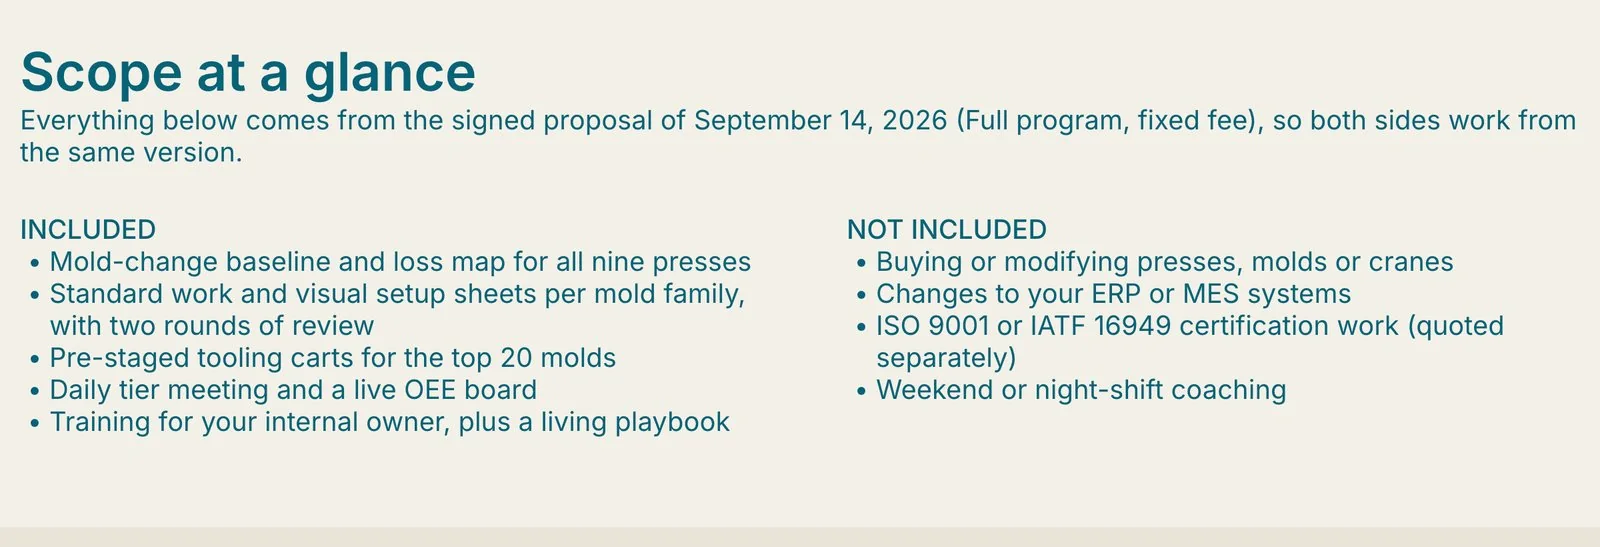
- Scope at a glance. What is included, with the rounds of revisions, and what is not. Point to the signed proposal or statement of work so both sides work from the same version.
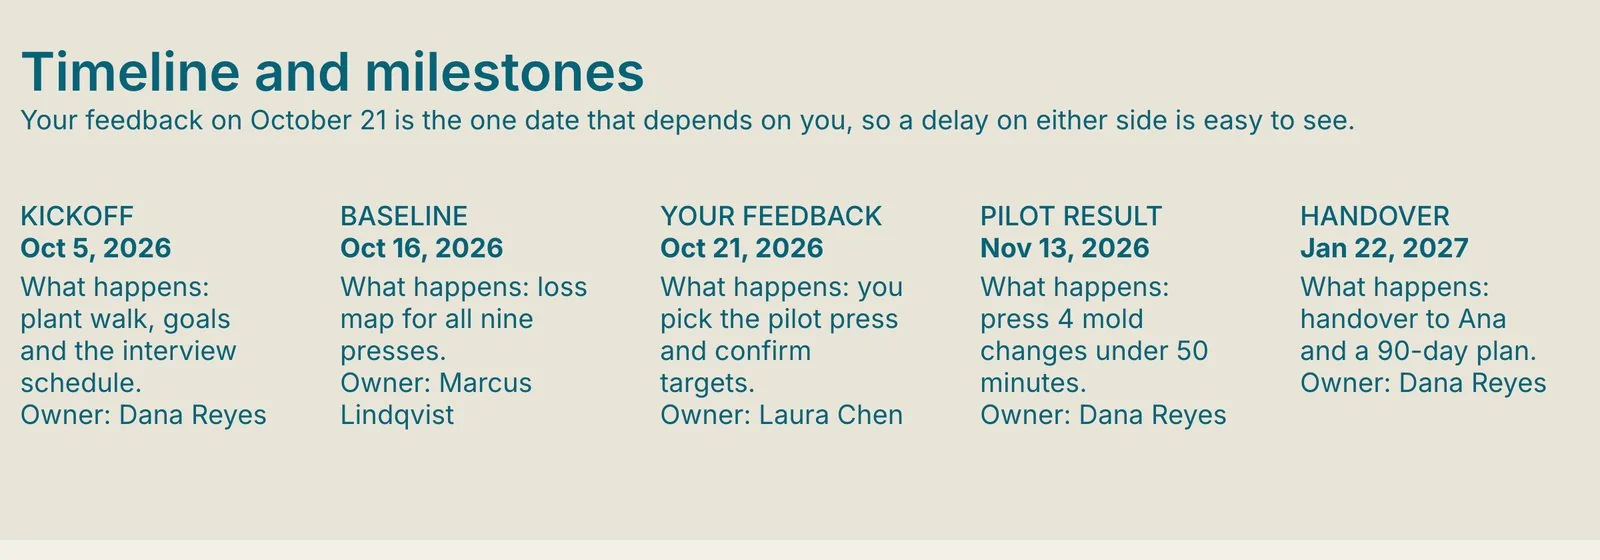
- Timeline and milestones. Kickoff to handover, five or so milestones, each with a date and an owner. Mark the dates that depend on the client, such as feedback and approvals.
- How you will work together. Where you talk and where files live, when you meet, how quickly each side replies, how feedback and approvals work, and when you invoice.
- What you need from them. A checklist of files, access and decisions, each with a due date.
- Useful links and next steps. The shared folder or workspace, a booking link, and the next two or three things that happen.
The Client Onboarding Template has all eight sections in this order, with a short prompt in each one telling you what to write, and a finished example to follow.
Write Down What Is Not Included
The section most onboarding documents skip is the one that saves the most trouble. Clients often assume things are part of the work: extra pages, ongoing support after launch, copywriting, stock photos, certification work, weekend availability. Each one is reasonable to assume and awkward to refuse halfway through the project.
List three to five of them in plain words before day one. It is far easier to say “that is not included, but we can quote it” when the client has already read it on the page they agreed to.
Name One Person per Job
Onboarding goes wrong most often when nobody on the client’s side owns a decision. Ask for two names before kickoff: a main contact who answers day-to-day questions and gives you access, and an approver who signs off each milestone. They can be the same person on a small project, but write it down either way.
Do the same on your side. If the client knows who to ask about the timeline and who to ask about invoices, fewer questions land in the wrong inbox.
Make the Client Checklist Specific
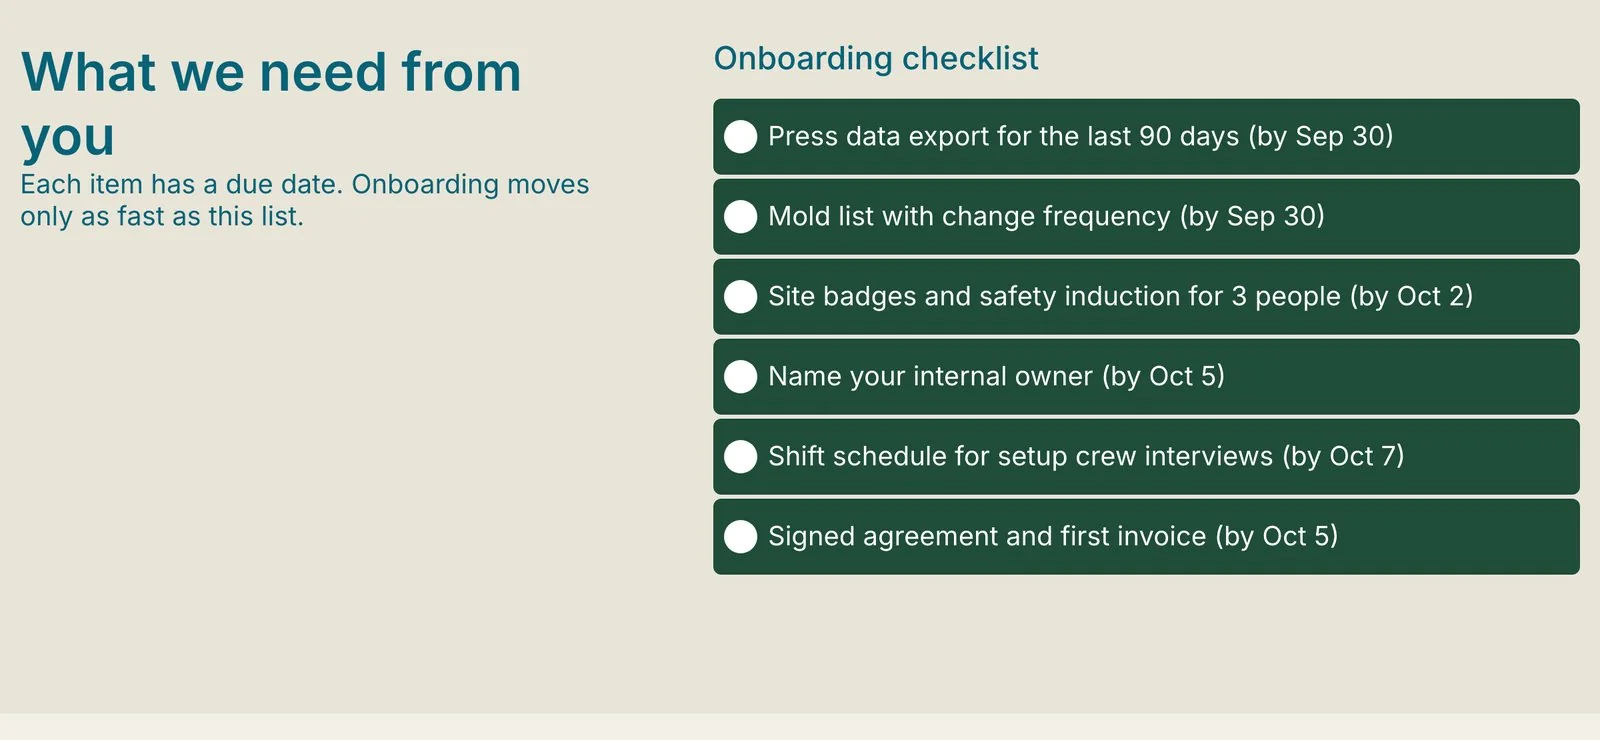
“Send us your brand assets” sits in an inbox for a week. “Logo files and brand guidelines, by October 2” gets done. For each item, say exactly what you need and when:
- Logo and brand files
- Access to the tools you will use, shared through a password manager, never by email
- The names of their main contact and approver
- Background documents, past reports or research
- The signed agreement and first invoice
Onboarding moves only as fast as this list, so put it where the client will see it and update it as items arrive.
Send It as a Live Page, Not an Attachment
An onboarding document changes more in its first two weeks than at any other time. Dates move, a new person joins, a link changes. If you sent a PDF, every change means a new attachment and a client who is never sure which version is current.
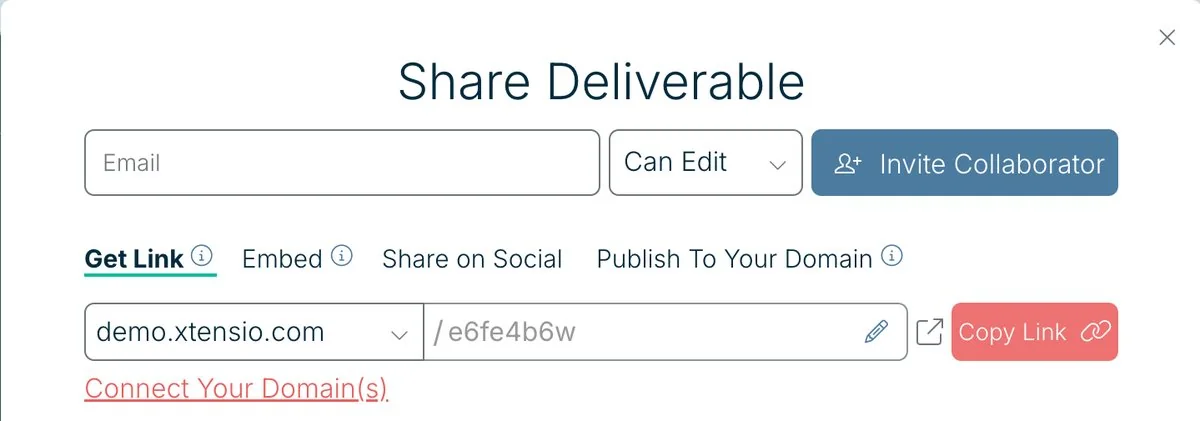
Send a live link instead. The client gets one URL they can bookmark, and when you update a date or add a link, they see it the next time they open the page. Keep it in a project workspace with the proposal and the project brief, so everything for that client lives in one place, and you can invite the client in.
With engagement analytics you can also see whether the client has opened the page before the kickoff call, which tells you whether to walk through it on the call or go straight to the work.
Use the Kickoff Call to Confirm, Not Explain
If the client has read the page, the kickoff call becomes a short confirmation: walk the timeline, check the scope list together, agree the meeting rhythm, and spend the rest of the time on goals and questions. End the call by updating the page with anything that changed, so the link the client has is still the truth.
Common Client Onboarding Mistakes
- Starting work before the checklist is done. You lose a week later waiting for access you could have asked for on day one.
- Leaving scope to the proposal alone. Proposals are long and get read once. Repeat the scope in plain words on the page the client keeps open.
- No approver. Feedback from five people with nobody to settle it turns one round of revisions into three.
- Sending a new file for every change. Keep one live page and update it.
Prefer to start with AI? The AI Client Onboarding Generator writes a first draft from your project notes, with the welcome note, who’s who, scope, timeline and client checklist, ready for you to edit.
Related Templates and Guides
- Client Onboarding Template
- Consulting Proposal Template
- Project Brief Template
- Monthly Client Report Template
- Project Handover Template
- How to Build a Client Portal for Agencies
Onboarding a software customer into a product rather than a client into a project? Use the Customer Onboarding Checklist Template instead.
Frequently Asked Questions
What is client onboarding?
Client onboarding is everything that happens between a client signing and the work starting: introductions, agreeing scope and timeline, collecting files and access, and setting how you will communicate and approve work.
What should a client onboarding document include?
A welcome note, the deliverables, who is who on both teams, what is and is not in scope, the milestones with dates and owners, how you will work together, invoicing, and a checklist of what the client needs to send.
When should I send it?
Right after the contract is signed and a few days before the kickoff call, so the client can start on their checklist and arrive at the call with questions, not surprises.
How long should onboarding take?
For most service projects, one to two weeks from signature to kickoff. It moves only as fast as the client’s checklist, so give every item a due date.
Should I send it as a PDF or a link?
A live link. Dates, owners and links change in the first weeks of a project, and with a link the client always sees the latest version. Download a PDF if the client’s team needs a file.
Ready to welcome your next client?
Start from the template, add your client’s details, and send one live link before the kickoff call. Free, no credit card required.

