How To Plan A Course Outline
Updated by Xtensio
Creating a course outline is about organizing your ideas and goals into a plan that guides your students through their learning journey. In this article, we’ll show you how to design a clear and engaging course outline, step by step. Whether you’re an experienced educator or new to teaching, these practical tips will help you create an outline that inspires and informs. Let’s build a course that captivates your students and enhances your teaching experience. Follow along with the FREE Course Outline Template.
Listen to this article:
Xtensio is your team space for beautiful living documents.
Create, manage and share business collateral, easily.
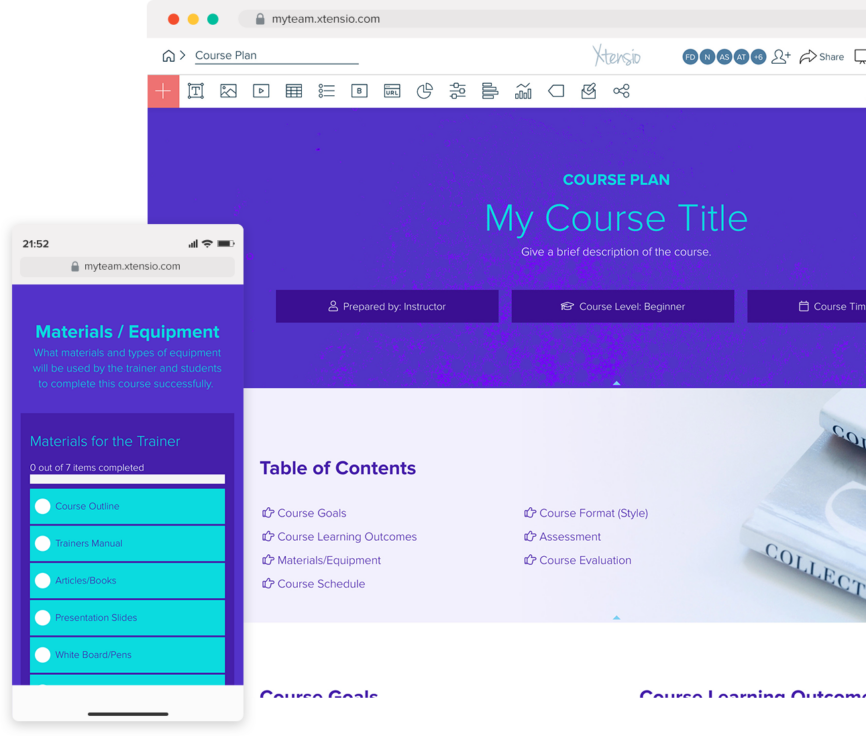
Table Of Contents
The purpose of a course outline
Imagine teaching a class without a clear plan. You might cover important topics, but without a logical flow, your students can quickly become confused and frustrated. A well-crafted course outline provides a roadmap, ensuring that each lesson builds on the previous one, creating a coherent and engaging learning experience.
This guide will help you design effective course outlines. You’ll find practical tips to make your outlines clear, organized, and inspiring. Let’s get started…
Steps to write a course outline
A course outline helps educators plan and communicate the core values and goals of their course. It includes course objectives, schedules, readings, assignments, quizzes, and teaching methods. A well-crafted lesson outline will help you:
- Set course goals, develop student learning objectives, and create assessment plans.
- Guide student expectations by outlining goals, materials, timelines, and learning outcomes.
- Provide a reference for colleagues, administrators, and accreditation agencies.
With Xtensio, you can easily create lesson plans tailored to your course objectives and learning outcomes. Collaborate with colleagues and department heads to develop an effective, ongoing course outline. Work together on a live document, leave feedback, demonstrate your course knowledge, and share a link to keep students updated on the lesson plan and objectives throughout the course.
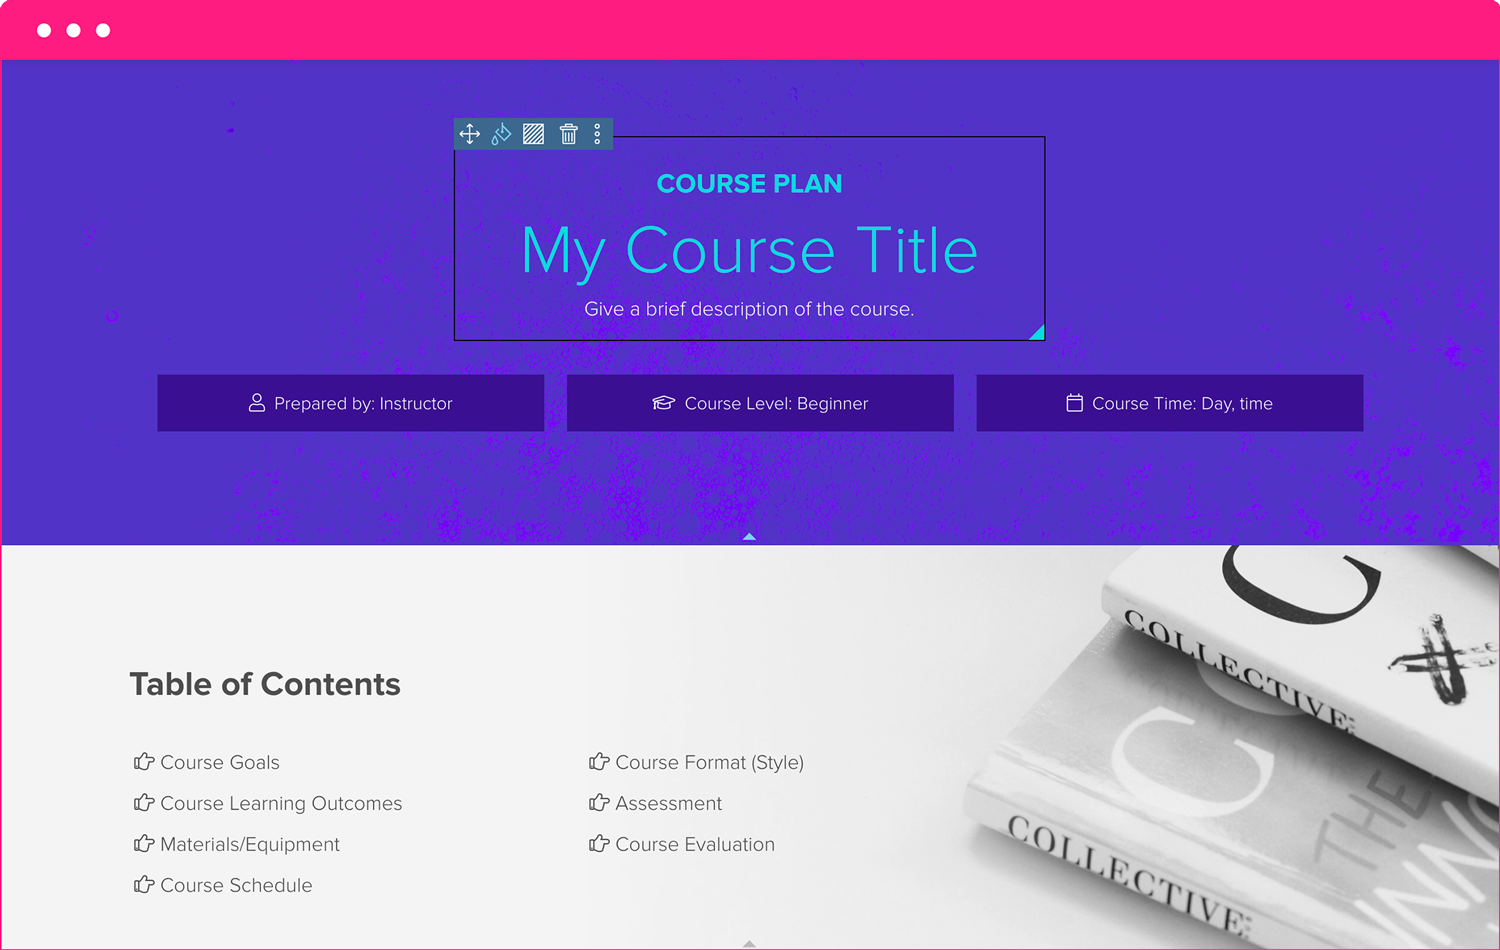
Create your course plan header
Start your lesson plan by including the course title and a brief description of the course. Make sure to add the instructor’s name, course level, date, time, and location.
QUICK TIP: Save a custom template to easily repurpose it for other lesson plans.
Outline your course
Successful courses require careful planning and continual revision. Take time to thoughtfully consider your course objectives before developing your weekly lesson plans.
Consult with Colleagues: If possible, speak with colleagues who have taught the same or similar courses to learn from their experiences, including their tactics, student expectations, and outcomes.
Team-Teaching: If you are team-teaching, start planning with your teaching partners well in advance. This proactive approach allows your team to thoroughly evaluate course objectives, align teaching philosophies, strategize content, determine effective teaching methodologies, and set clear course policies. Define distinct roles for each instructor to ensure a smooth and cohesive teaching experience.
Example Table of Contents:
- Course Goals
- Course Learning Outcomes
- Materials/Equipment
- Course Schedule
- Course Format (Style)
- Assessment
- Course Evaluation
- Class Time

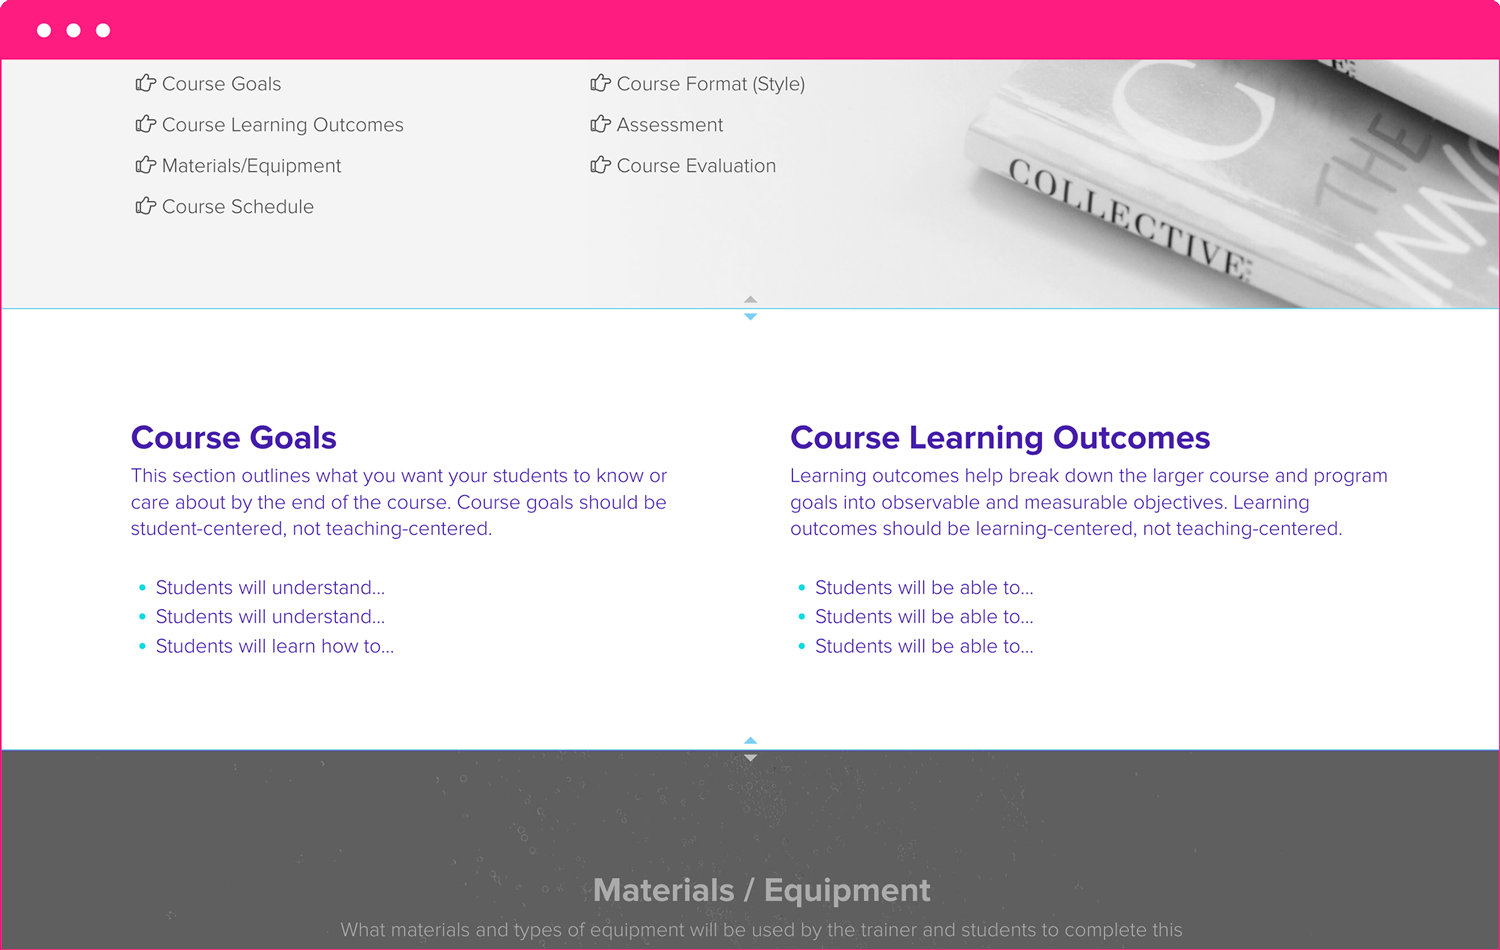
Define course goals and learning outcomes
Course goals should focus on what students will learn, rather than what the instructor will teach. To formulate these goals, consider what students need to learn in terms of content, cognitive skills, and personal development. Clearly outline what you want your students to know or care about by the end of the course.
- Will students retain key concepts from your course years from now?
- How does this course fit into the broader curriculum of the discipline? Define the goals based on whether it’s an introductory, fundamental, or advanced course.
Learning outcomes break down these broad goals into specific, observable, and measurable objectives. These outcomes should center on student learning and development.
- How will taking your course transform your students?
- What specific skills and knowledge will students gain from this course?
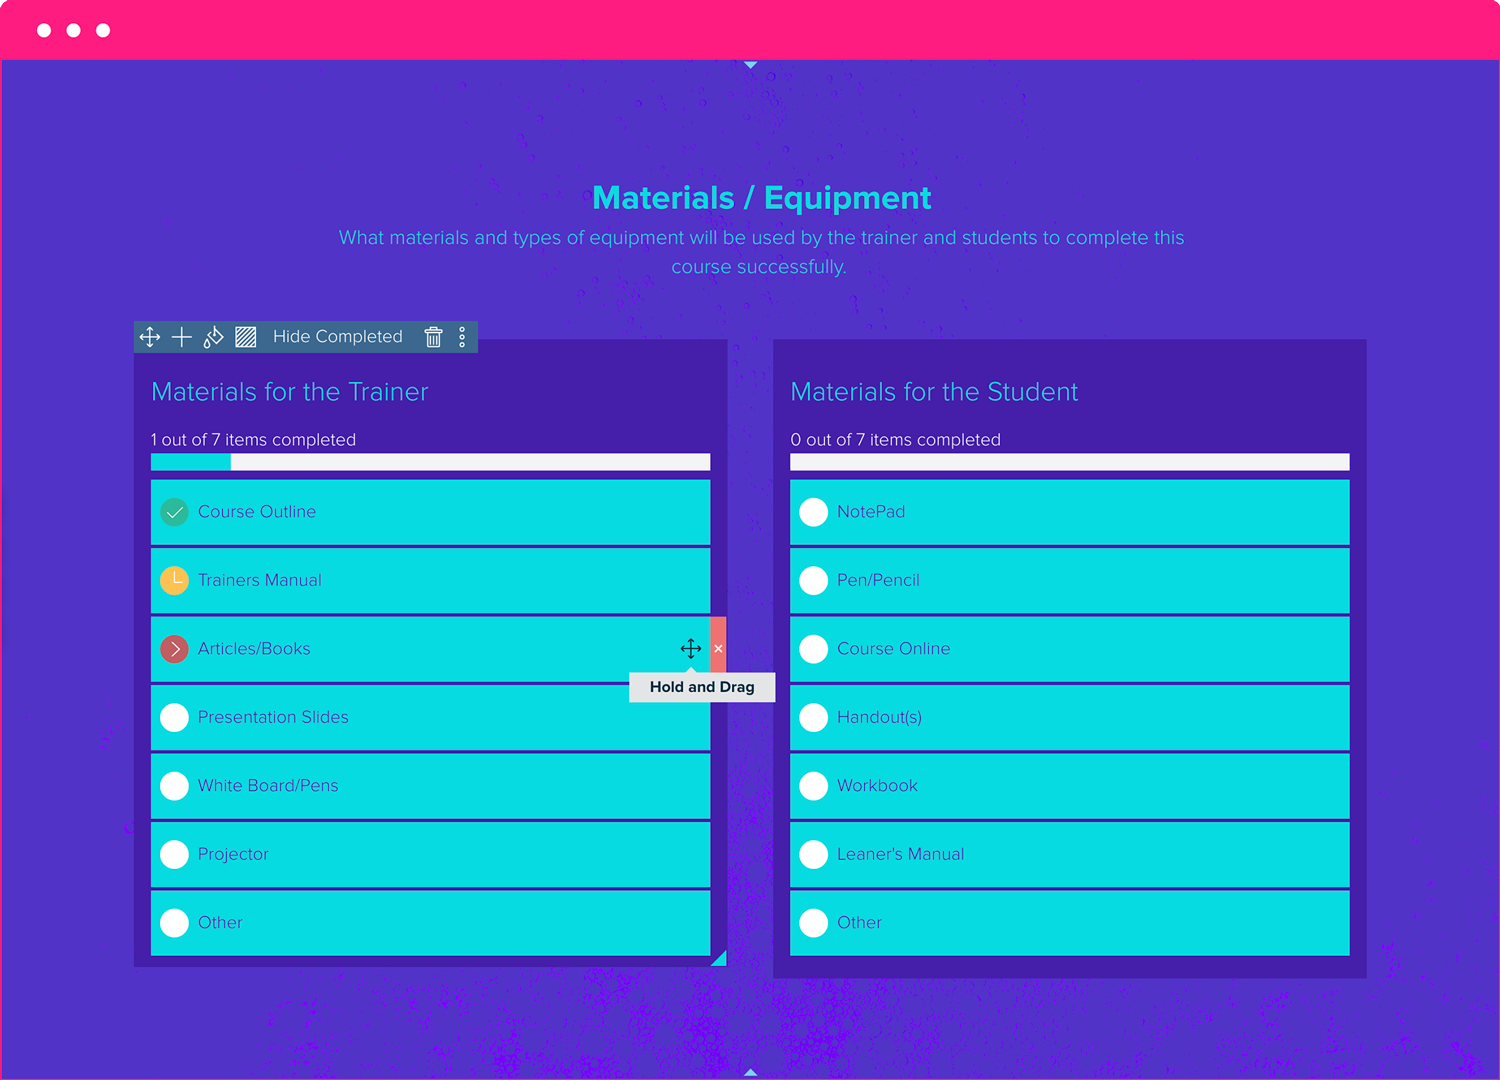
List materials and equipment students will need
To ensure the successful completion of the course, both educators and students will need various tools and materials.
Materials for the Educator:
- Trainer’s Manual: A comprehensive guide with detailed lesson plans and instructional strategies.
- Articles/Books: Essential readings and references to support the course content.
- Presentation Slides: Visual aids to enhance lectures and presentations.
- Whiteboard/Pens: Tools for illustrating concepts and engaging with the class.
- Projector: Equipment to display slides, videos, and other multimedia resources.
- Other: Any additional materials specific to the course requirements.
Materials for the Students:
- Note Pad: For taking notes during lectures and discussions.
- Pen/Pencil: Basic writing tools for note-taking and completing assignments.
- Course Outline: A document that provides an overview of the course structure and key objectives.
- Handout(s): Supplementary materials that reinforce the course content.
- Workbook: A resource for practice exercises and activities.
- Learner’s Manual: A guide to help students navigate the course and its requirements.
- Other: Any other specific materials required for the course, such as lab equipment or software.
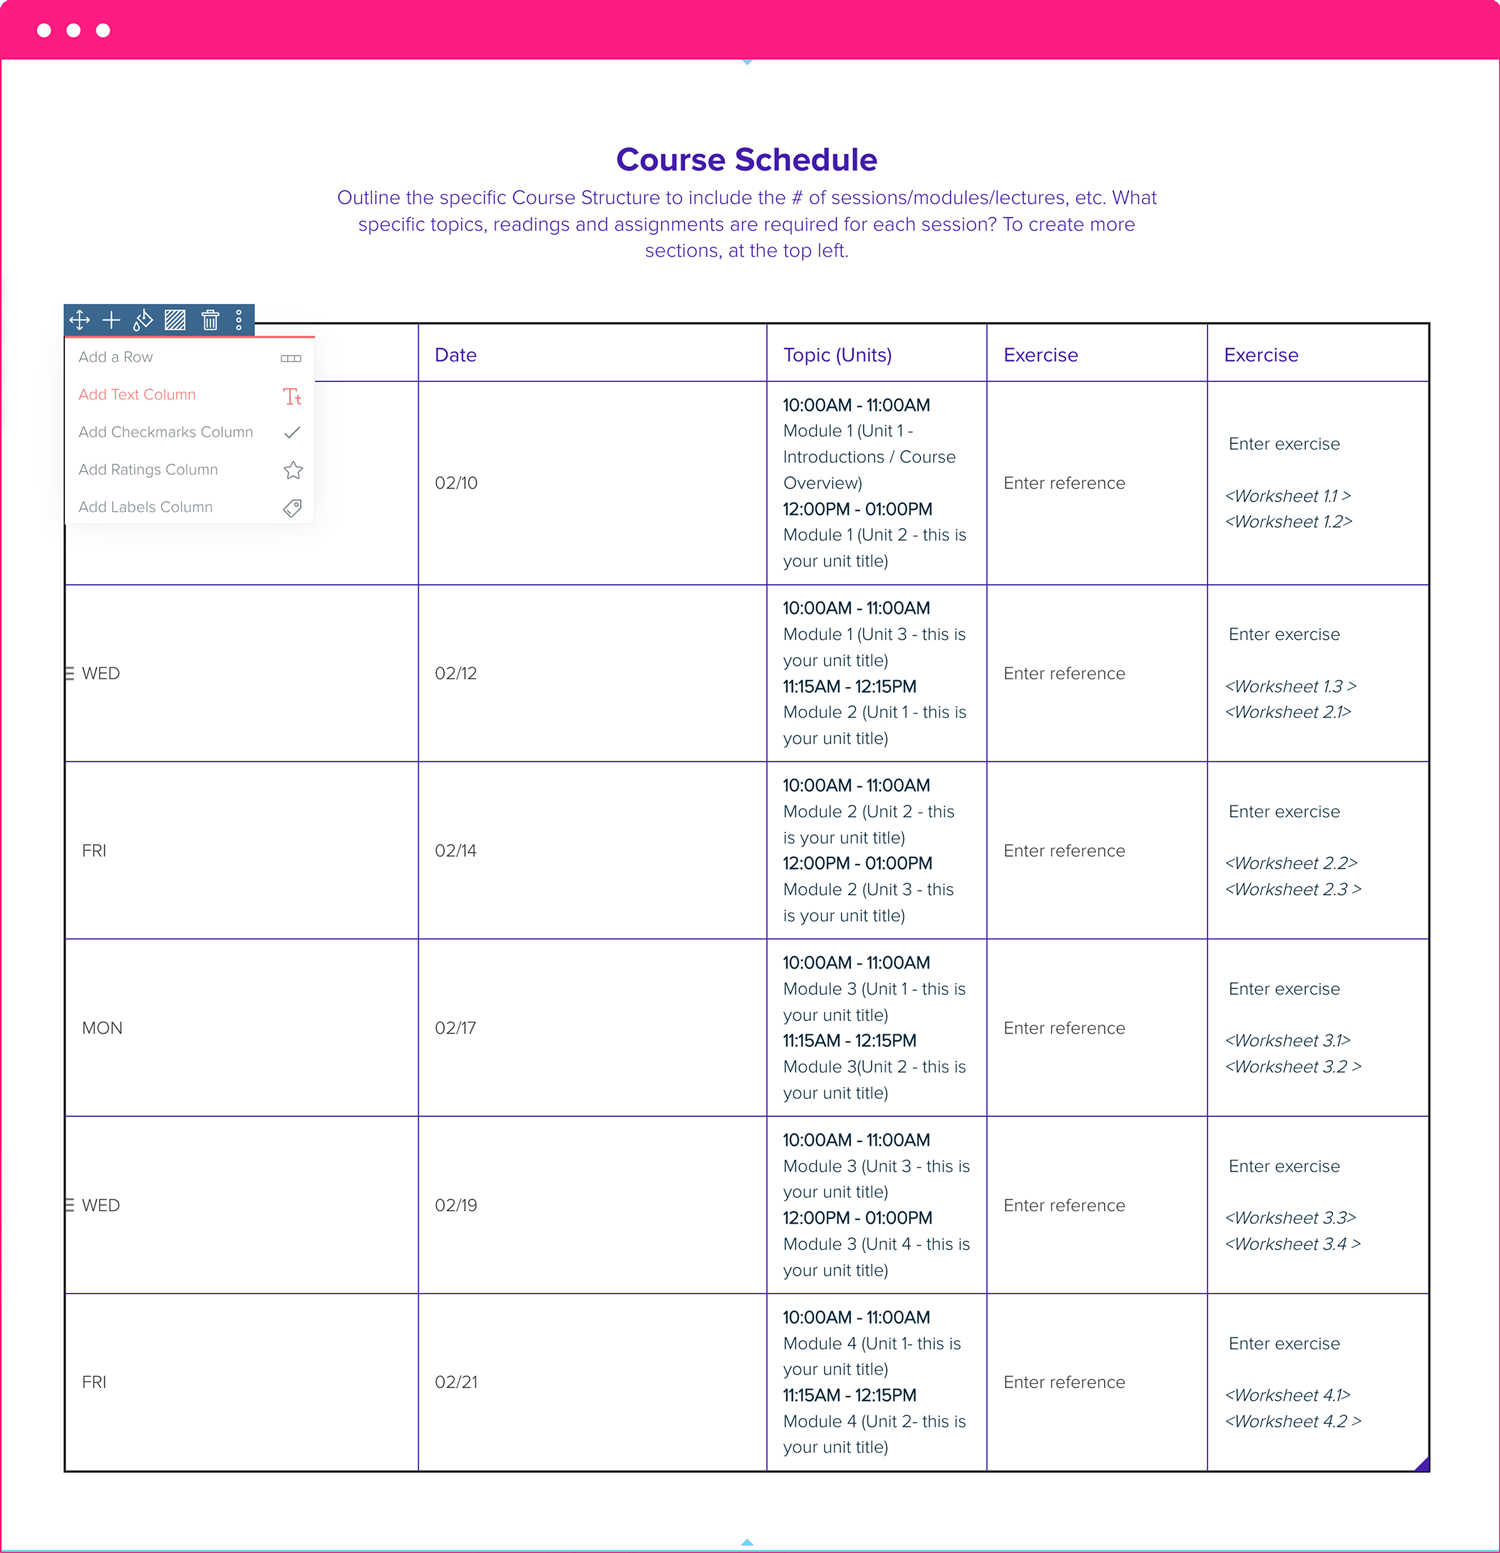
Plan your course schedule
Outline the specific course structure, including the number of sessions, modules, and lectures. Specify the topics, readings, and assignments for each session.
When preparing an effective lesson plan, consult relevant academic calendars, and consider major holidays and significant campus events (such as Winter Break and Homecoming). Allow time for active learning during classes and for students to complete major assignments and prepare for exams.
At a minimum, your course schedule should include the date and time of each session, topics and units (modules), required readings, assignments, and major exams.
QUICK TIP: To create more sections in the course schedule, duplicate modules, tables, and sections to repurpose the content.
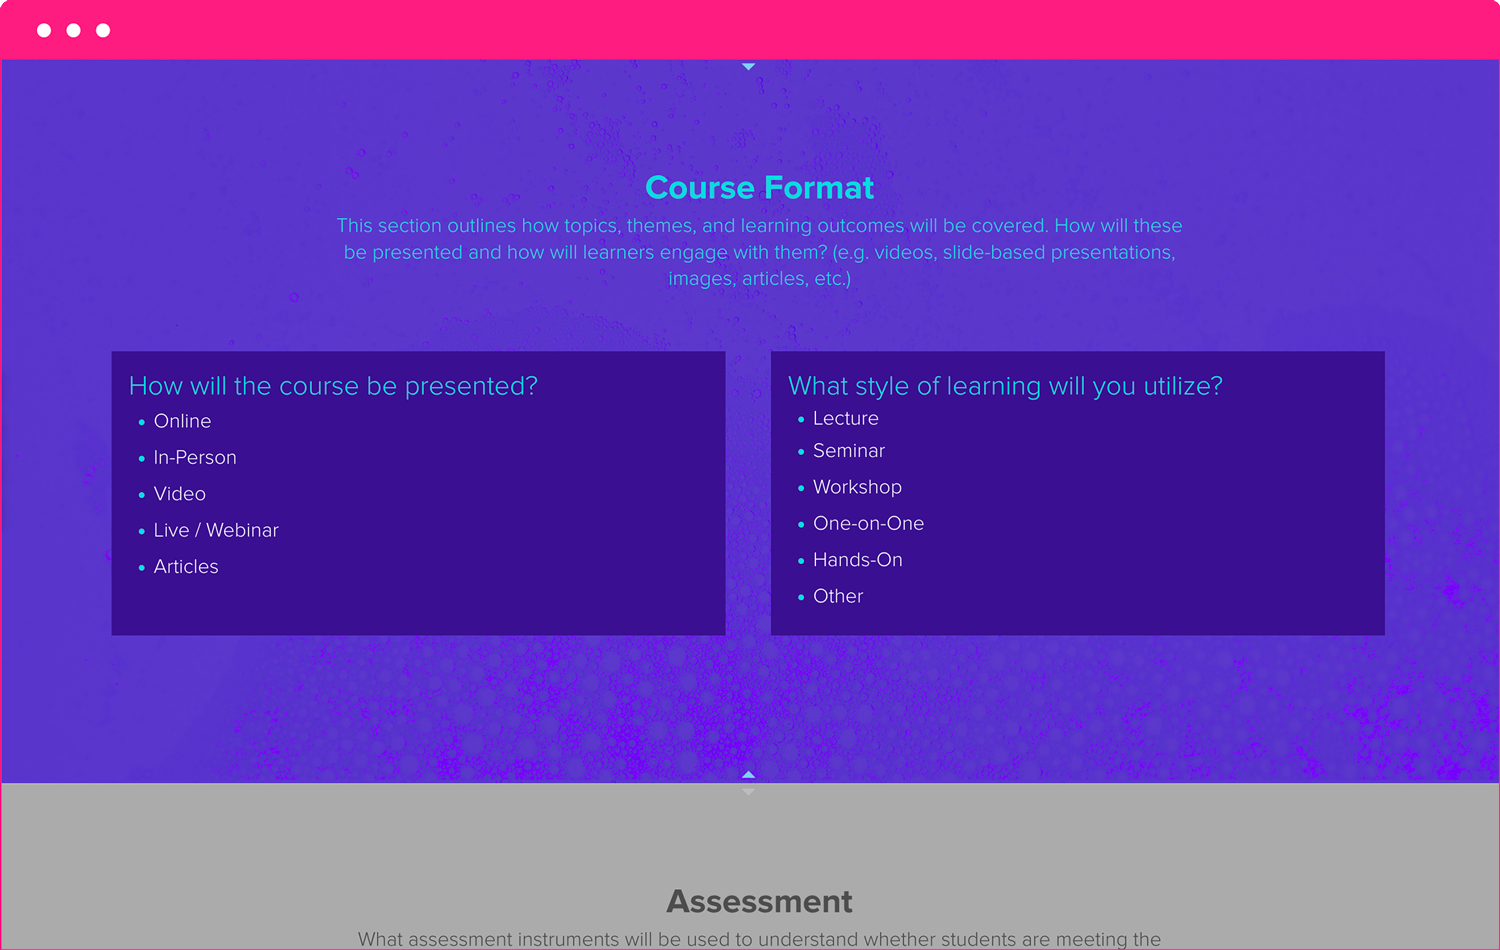
Map out your course format
Detail how topics, themes, and learning outcomes will be covered. Explain how these will be presented and how learners will engage with them (e.g., videos, slide-based presentations, images, articles, etc.). Select and develop teaching methods and tools that are appropriate for the class size and consistent with the course goals.
Course presentation methods could include:
- Online
- In Classroom
- Video
- Live Webinar
- Articles
Additionally, specify the learning styles you’ll incorporate in your course:
- Lecture
- Seminar
- Workshop
- One-on-One
- Workbook
- Hands-on
- Other
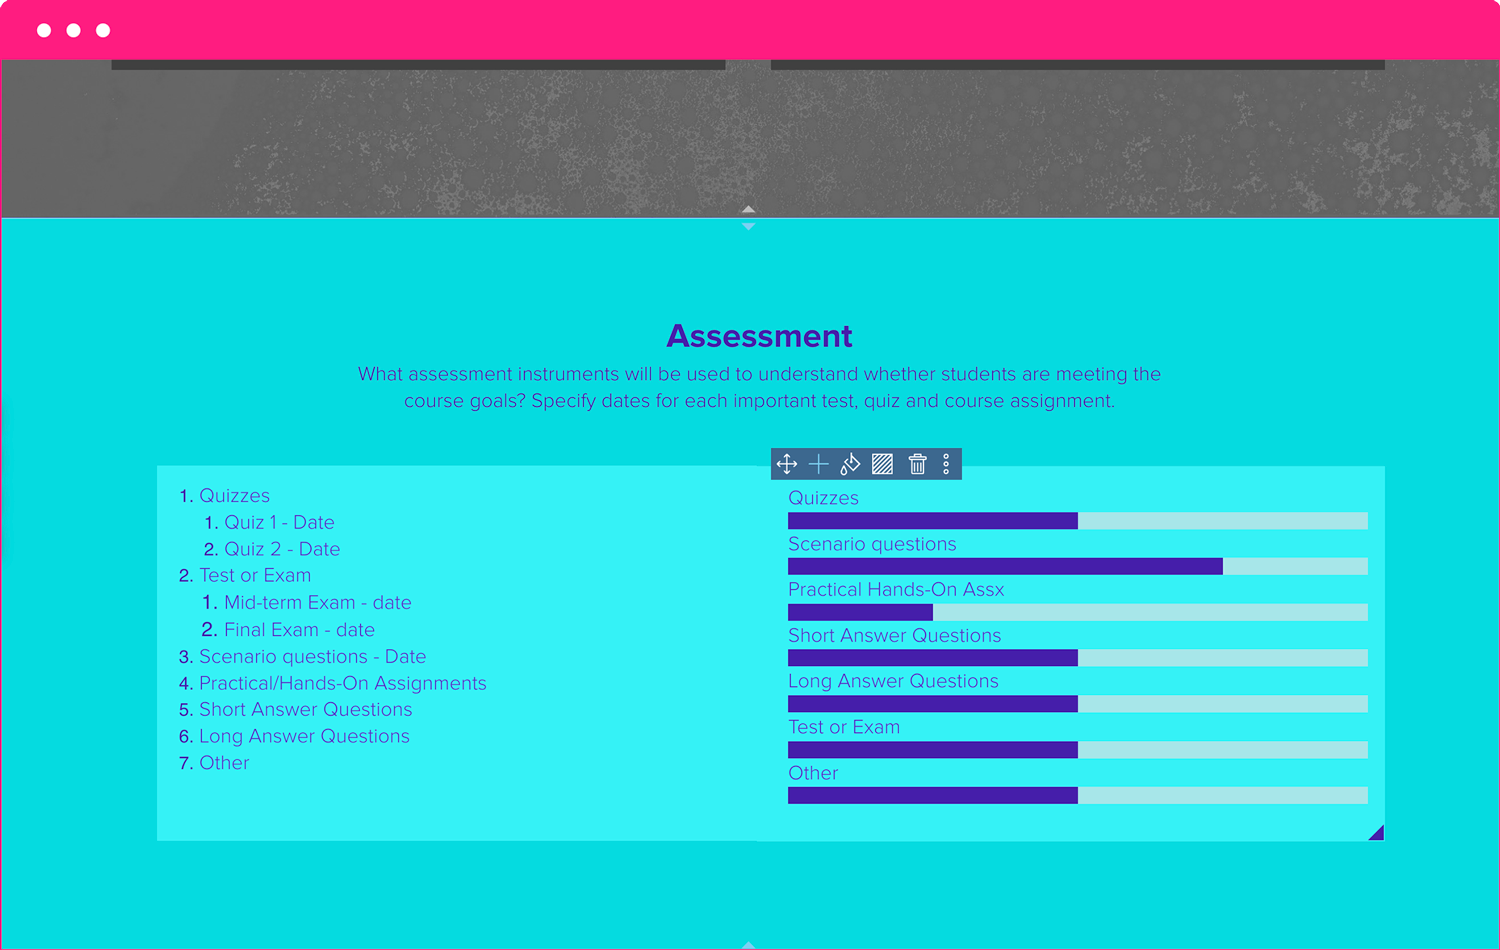
Explain how you will assess your course
Specify the assessment instruments to be used to determine whether students are meeting the course goals. Include dates for each important test, quiz, and course assignment. Assessments may include quizzes, tests, exams, scenario questions, hands-on assignments, written papers, labs, etc.
Assessment Instruments:
- Quizzes: Short assessments to gauge understanding of specific topics.
- Tests/Exams: Comprehensive evaluations covering multiple topics and learning outcomes.
- Scenario Questions: Situational questions that test the application of knowledge.
- Hands-On Assignments: Practical tasks that require applying learned skills.
- Written Papers: Essays or reports of appropriate genre and length.
- Labs: Experimental or practical sessions to reinforce theoretical knowledge.
Key Considerations:
- Alignment with Course Goals: Ensure assignments reflect and help achieve course goals. For example, confirm that required papers are of appropriate genre and length, and allow sufficient time for completion.
- Relevance of Exams and Quizzes: Design exams and quizzes to reflect course goals and measure achievement of learning objectives.
- Skill Acquisition and Practice: Provide opportunities for students to acquire and practice skills needed for exams and major assignments.
- Practical Tasks: Assign practical tasks to help students practice and apply course content.
Example Schedule:
- Week 2: Quiz on introductory topics
- Week 4: Hands-on assignment submission
- Week 6: Midterm exam
- Week 8: Written paper due
- Week 10: Scenario-based quiz
- Week 12: Lab session
- Week 14: Final exam
By aligning your assessments with course goals and providing ample practice opportunities, you can ensure that students are effectively meeting learning objectives.
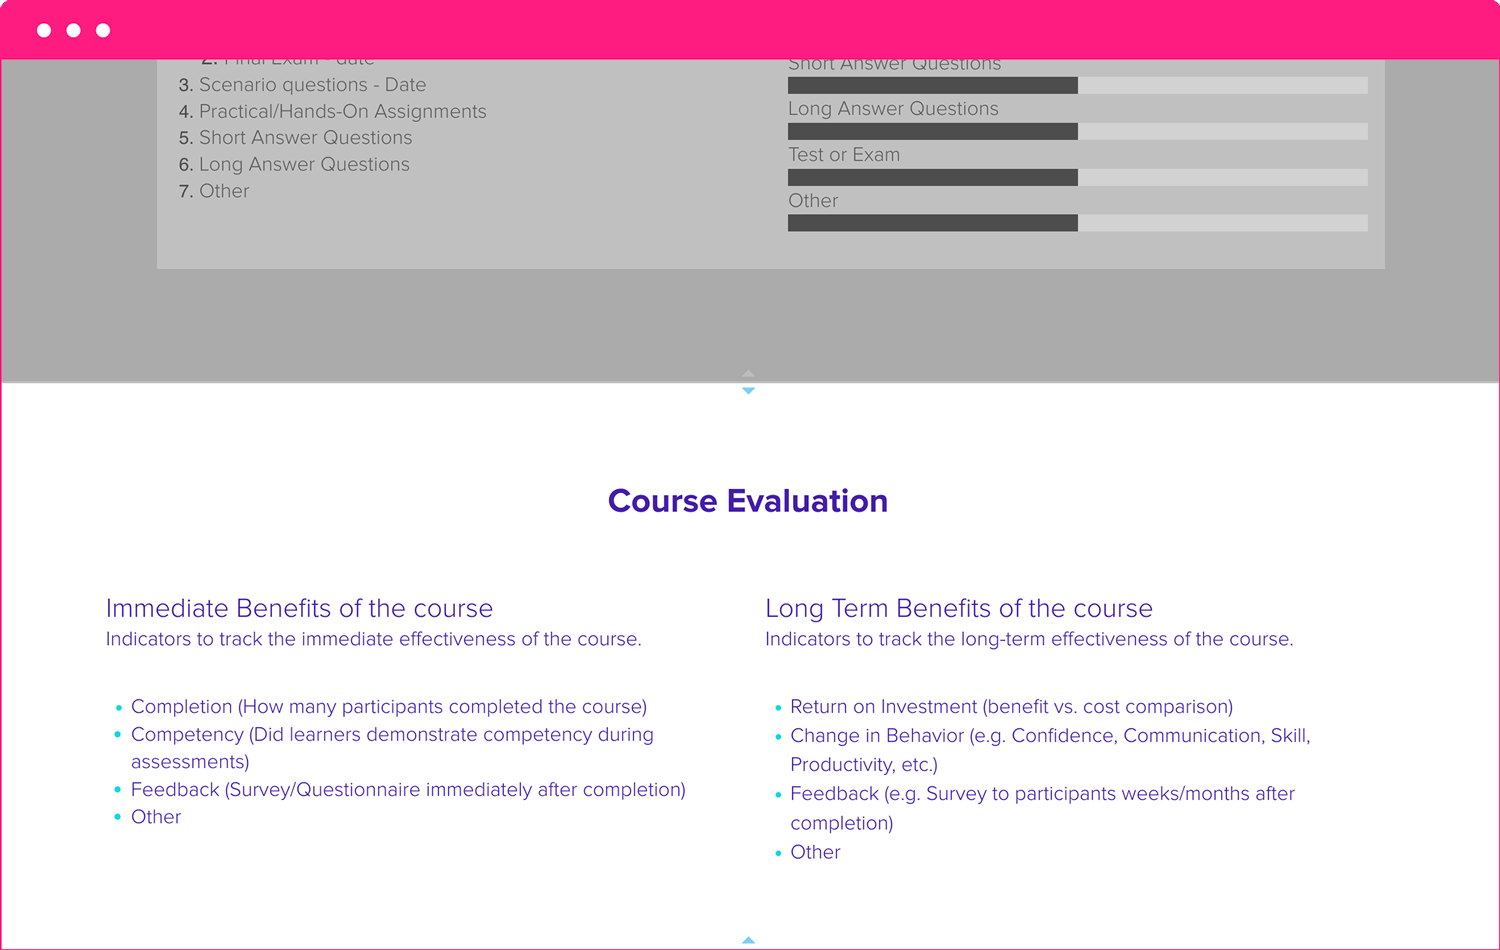
Evaluate your course and iterate for the next one
Course planning is an ongoing process. Taking the time to review each lesson once it’s completed can help you plan and revise future lessons. Focus on teaching core concepts and critical-thinking skills along with the course content.
Immediate Course Benefits:
- Completion: Track how many participants completed the course.
- Competency: Assess whether learners demonstrated competency during assessments.
- Feedback: Collect feedback through surveys or questionnaires immediately after course completion.
Long-Term Course Effectiveness:
- Return on Investment: Compare the benefits of the course against its costs.
- Change in Behavior: Monitor changes in confidence, communication skills, productivity, etc.
- Long-Term Feedback: Conduct surveys with participants weeks or months after course completion to gauge the lasting impact.
By evaluating both immediate and long-term indicators, you can continuously improve your course to better meet learners’ needs and achieve your educational goals.
Share your course plan as a link, monitor, evaluate & iterate
Once you’ve created your sample lesson plan with Xtensio’s editor, you can:
- Send the live link to share it as a responsive webpage (with optional password protection).
- Export it as a PDF to post on your bulletin board.
- Embed it on your website.
The course plan is adaptable, just like other Xtensio tools. It can and should be repurposed, revisited, and revised regularly.
Creating a course outline is crucial for a smooth and engaging learning experience. Clear goals and a solid plan help both you and your students succeed. We hope that you will make a lasting impact on your students’ learning journeys.
Course Outline vs Lesson Plan vs Syllabus
Educators often use the terms “course outline,” “lesson plan,” and “syllabus” interchangeably, but each document serves a distinct purpose. Understanding these differences helps you create the right document at the right stage of course development.
A course outline is the high-level structural blueprint for your entire course. It maps out the sequence of topics, the progression of learning objectives across modules, and the overall arc from introduction to mastery. Think of it as the architectural plan: it shows what gets covered, in what order, and why that sequence matters. A course outline is primarily an internal planning tool, though it can be shared with stakeholders for review.
A lesson plan zooms into a single session or class meeting. It details what happens minute by minute: the opening activity, the core instruction, practice exercises, discussion prompts, and the closing summary. Where the course outline answers “what topics will we cover this semester?”, the lesson plan answers “what exactly will happen in Tuesday’s 90-minute class?”
A syllabus is the student-facing contract. It includes grading policies, attendance expectations, academic integrity statements, office hours, required textbooks, and key dates. The syllabus draws from the course outline but adds administrative and policy details that students need to navigate the course successfully.
Here is how the three documents compare across key dimensions:
| Dimension | Course Outline | Lesson Plan | Syllabus |
|---|---|---|---|
| Scope | Entire course | Single session or class | Entire course |
| Audience | Instructor, department, co-instructors | Instructor (internal use) | Students, registrar, accreditation |
| Detail level | Topics, objectives, module sequence | Minute-by-minute activities | Policies, grading, dates, readings |
| When created | Before the course begins | Before each individual session | Before the first day of class |
| Update frequency | Each term or cohort | Before every session | Each term (with policy changes) |
In practice, the course outline comes first. It informs both the syllabus (which students receive) and the individual lesson plans (which guide your day-to-day teaching). Getting the outline right means the other two documents fall into place with less effort.
Common Mistakes When Planning a Course Outline
Even experienced educators fall into planning traps that weaken their course outlines. Recognizing these mistakes early saves significant rework once the course is underway.
1. Overloading modules with too much content. Ambitious instructors often pack each module with more material than learners can absorb. A better approach is to identify the three to five most critical concepts per module and build depth around those. If a topic is important enough to mention, it deserves enough time for students to practice and internalize it.
2. Skipping measurable learning objectives. Vague goals like “understand marketing fundamentals” give neither the instructor nor the student a clear target. Each module should include objectives that start with action verbs: “identify,” “compare,” “design,” “evaluate.” These verbs make it possible to assess whether the objective was actually met.
3. Ignoring realistic time constraints. A 12-week course with 15 weeks of content forces you to cut material under pressure, usually at the worst possible moment. Build your outline against the actual calendar, accounting for holidays, orientation weeks, and exam periods. Leave buffer sessions for review or catch-up.
4. Not building in assessments from the start. Assessment design should happen alongside content planning, not after. When assessments are an afterthought, they often test memorization rather than the higher-order thinking your objectives promise. Map each major assessment to a specific learning objective during the outlining phase.
5. Forgetting prerequisites and assumed knowledge. If Module 4 assumes skills taught in Module 2, that dependency must be explicit in your outline. Unstated prerequisites create gaps where students fall behind without understanding why. List what learners should already know before entering each module.
6. Making the outline too rigid. A course outline should guide your teaching, not lock it in place. Leave room to adjust pacing based on how students respond. If a concept takes longer than expected, you need the flexibility to shift later modules without dismantling the entire plan. The best outlines are living documents that evolve with each cohort.
Course Outline Examples by Format
Course outlines look different depending on how the course is delivered. The core elements remain the same, but the emphasis shifts based on format-specific constraints. Here is how outlines differ across four common delivery formats.
Online self-paced courses
Self-paced courses have no fixed class schedule, so the outline must replace the instructor as the primary guide. Each module needs a clear estimated completion time (for example, “Module 3: 2.5 hours”), explicit instructions for navigating between sections, and built-in checkpoints where learners assess their own progress before moving on. Prerequisites between modules matter more here because there is no instructor to catch a student who skipped ahead. Include a recommended pace (“complete one module per week”) even though learners can move faster or slower.
Live workshop series
Workshops are built around hands-on activities, so the outline should allocate at least 60 percent of each session to practice rather than lecture. Structure each workshop with a brief framing exercise (10 minutes), a core activity (40-50 minutes), and a debrief or group share (15-20 minutes). Because workshops are typically shorter series (4-8 sessions), every session must deliver a tangible takeaway. The outline should list what participants will walk away with after each workshop, not just what topics were discussed.
University semester courses
Semester courses run 14-16 weeks and must align with institutional policies: add/drop deadlines, midterm periods, final exam schedules, and accreditation standards. The outline needs a detailed week-by-week calendar, a grading breakdown (participation, assignments, exams), and required readings tied to each week. Build in at least one “flex week” for review before midterms and finals. If the course satisfies a specific accreditation requirement, note which modules map to which accreditation criteria.
Corporate training programs
Corporate training outlines must connect every module to a measurable business outcome. Where academic outlines focus on knowledge acquisition, corporate outlines focus on skill application: “After this module, participants will be able to conduct a client discovery call using the SPIN framework.” Include role-play scenarios, case studies drawn from real company situations, and post-training action plans. Time is scarce in corporate settings, so outlines are often compressed into 1-3 day intensives or weekly 90-minute sessions spread across a quarter. The outline should specify pre-work (readings or videos to complete before each session) to maximize in-session practice time.
How to Keep Your Course Outline Current
A course outline is not a document you write once and file away. It is a living document that should evolve after every cohort, every semester, and every round of student feedback. The instructors who consistently deliver strong courses are the ones who treat their outline as an ongoing project rather than a finished product.
Run a post-cohort review. After each course delivery, set aside time to document what worked and what did not. Which modules ran long? Where did students struggle most? Which readings generated the best discussion? Capture these observations directly in the outline so the next iteration starts from a stronger foundation.
Collect structured feedback. End-of-course surveys are standard, but mid-course check-ins are more actionable. Ask students at the halfway point what is clear, what is confusing, and what they wish had been covered earlier. This gives you data to adjust pacing and emphasis in real time, and it gives future cohorts a better-calibrated outline.
Update content references annually. Readings, case studies, and data points go stale. Set a calendar reminder to review all external references in your outline at least once a year. Replace outdated statistics, swap in newer case studies, and retire readings that no longer reflect current practice in the field.
Use a workspace that supports ongoing updates. Emailing Word documents or PDFs between co-instructors creates version confusion quickly. With a workspace like Xtensio, you can keep your course outline as a live link that every collaborator accesses in one place. When you update a module, everyone sees the current version immediately. There is no need to track which file is the latest draft or re-send attachments after each change. The outline stays current because it lives in a shared workspace, not buried in someone’s inbox.
Version your major revisions. While day-to-day edits should flow directly into the working outline, mark major structural changes with a version note: “v3.0, Fall 2026: restructured Modules 4-6 based on assessment data.” This gives you a clear history of how the course has evolved and makes it easier to explain changes to department chairs or accreditation reviewers.
Written by


Create and deliver beautiful work, professionally.
Build, brand, and deliver living documents your clients actually engage with.


Join 396,959 professionals delivering work with Xtensio.